Monday, May 9, 2022

'A COVID ICU': A Covid 19 Painting - A 'REAL LIFE' Covid-19 ICU Room Experience


COVID19 painting kaustav Mukherje


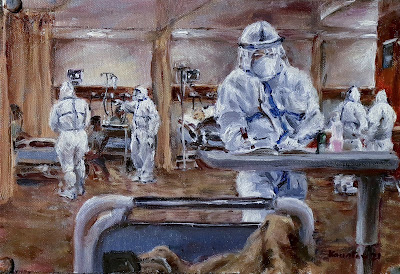
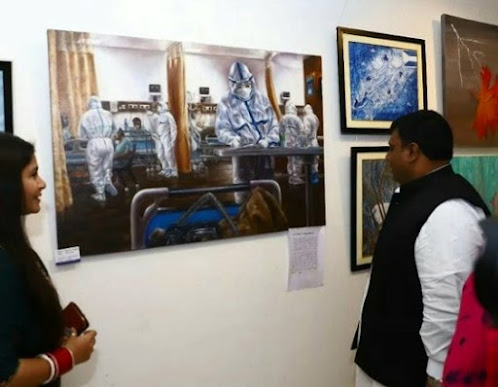
This big medical painting is in line with all the historic medical paintings done by past master artists such as Thomas Eikins, Rembrandt, Luciano Nezzo, Ugo Matania, Emma Mieville et al. This one-of-a-kind image is a depiction of a Covid ICU, where medics were busy at work despite all the dangers attached to it. There is no other known COVID painting in the world that involves first-hand experience of a Covid ICU and the situation. It shows the global crisis of this era in its actuality.

I conceived the idea when I was extremely ill with Coronavirus in July 2020. I could barely move my body on the bed and could not breath due severe pneumonia. It took me 22 days in the hospital to recover; during that time I planned the painting. I took the opportunity to create this medical painting to get an inside view of an ICU, treatment procedure etc. through taking numerous photo references, mobile app sketches of the doctor’s poses, equipment, treatment procedure, patients’ postures etc. The first draft of the painting itself was constructed while being in the ICU and later developed further after being released.

Even when the doctors were not sure about my situation, I found new strength (my wife recovered much earlier). I was thinking whether I could use my mind, eyes and hands to make that time useful and create something that would represent the time in which we lived.

I started drawing the medical people with mobile drawing apps, taking numerous photos of the ICU and started constructing the painting at that point. Poses were all taken from life while they were doing their dangerous job. This image is a depiction of a Covid ICU, where medics are busy with work without any sentimentality attached to it, caring for patients, working on the basis of data and observation. 

Although this painting shows only the medical side, this is also a tribute to the ones who were involved in other fields, while they were at risk themselves! 


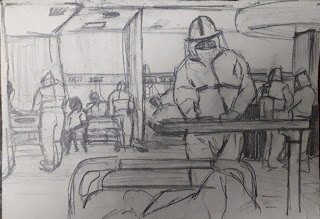
Some of the preparatory sketches below: 


Mobile App Scribbles for Visualization

First Draft

Finalization

Color Experimentation

First Oil Sketch, 9X12 Inches


This piece was exhibited at All India  Fine Arts and Crafts Society on 6th May 2022. The painting received a lot of praise from everyone including the AIFACS vice-president Biman Bihari Das and Imran HussainMinister of Food and Civil Supplies and Election, New Delhi. Here are some shots:

Covid19 painting

Covid19 painting

AIFACS Chairman, Padma Shri Biman Bihari Das
Coronavirus painting

Imran HussainMinister of Food and Civil Supplies and Election, New Delhi


Friday, March 29, 2019

Some Important Technical Point in Realism

Certain principles are always constant to achieve a realistic effect. These are:
  • Values: without this realism will fail
  • Abstraction: we don't see everything at the same time. We focus on one object and others become hazy slightly. So I don't emphasize unimportant things in a painting.
  • Edges: Related to Values. But hard edges and soft edges define volume. Without this volume cannot be shown. Objects that obstruct the light will have an extremely bright edge. Objects upon which the light falls will have a paler outline. Some will fade into the background.
  • Shape: As important as values, a mistake and the expression is lost.
  • Feeling and intention: driving force, muse, motive behind the construction of a vision. Never lose sight of this.
  • Planning: Do proper planning before painting. Don't just start with painting. Observe the source for a few days.

Monday, January 7, 2019

Choosing the Brushes

If one wants to create homogeneous painting surface irrespective of the type of support then they can follow the following formulae:
  1. Course support: Rougher brushes; paint slightly fluid (rough canvas surface; so bristle brushes)
  2. Smooth support: smoother brushes; paint slightly fluid (smoother panel surface; so soft nylon watercolor brushes)
  3. Arm Movement: Painting process remains similar but arm movement needs to be adjusted accordingly. Full arm movement for bigger size and full wrist movement at least for smaller size. Here the scale might have some impact on technique but as close one can get.

Monday, September 11, 2017

My Muted Color Palette

I have been thinking of a very muted primary color palette for some time. Basic features behind the color palette are:
  1. Colors are commonly available, mostly series 1-2 colors. No fancy ones
  2. The paintings will be somewhat muted, not overpowering like my regular primary palette  and different from a Zorn palette
  3. I can lighten the colors upto white and darken the colors down to black. No change here
  4. I can use colors that can be identified as red, blue, yellow and mixed ones purple, green, orange (I can live without the most accurate secondaries here)
  5. Reducing stress over correct color mixing. Focusing on values only
  6. Palette must be suitable for any muted subject
Following are the choice of colors. Obviously, minor changes can be done depending upon the choice of colors available to an artist. I am selecting from Camlin brand only due to availability.

  1. White: Titanium White. I specifically did not look for a muted white because the colors need to be lightened to the highest degree
  2. Yellow: My choice is Yellow Ochre as it is a great muted yellows. I thought of using Raw Sienna and Naples Yellow, but they pose various challenges in color mixing. I can mix a color similar to Naples Yellow or Raw Sienna with Yellow Ochre
  3. Red: This was the toughest choice to make. I needed a muted slightly bluish red that can influence other colors. Obvious choices were the earth tones. Both Venetian and Indian red in Camlin brand are orangy. So not a good choice. But, I opened the tubes of the Light Red and Indian red. There was very little difference. I bought Indian Red, which has a color of very powerful rust. It produces muted purples/violets but I am still gonna try the Light Red color next time and see if it is slightly cooler. However, when mixed with yellow, Indian Red produces a vibrant orange
  4. Blue: I bought Indigo, which was more of a black with blue undertone. Other options being Ivory Black and Payne's Grey. I want this palette to be a distinct from Zorn Palette, therefore I won't add Ivory Black. Indigo serves the purpose greatly but I will also test Payne's Grey once and decide which one is better 
Here is a mixing that I did for some clarity. Muted violets are not apparent in the photo but they were there physically. Muted purples can also be created. But the Light Red color needs to be checked for once. That is the only change that I am looking forward too.
https://us.v-cdn.net/5020129/uploads/editor/qz/vb6za5t9jv6l.jpg
These limited palettes push one's perspective of looking at a scene and identify the colors. Painting a misty scene, desert landscape, a dimly lit still life or a portraits with lesser presence of vibrant colors are possible with such a muted color selection. 

Happy Painting! ☺

Tuesday, July 4, 2017

Plein Air Painting in Noida

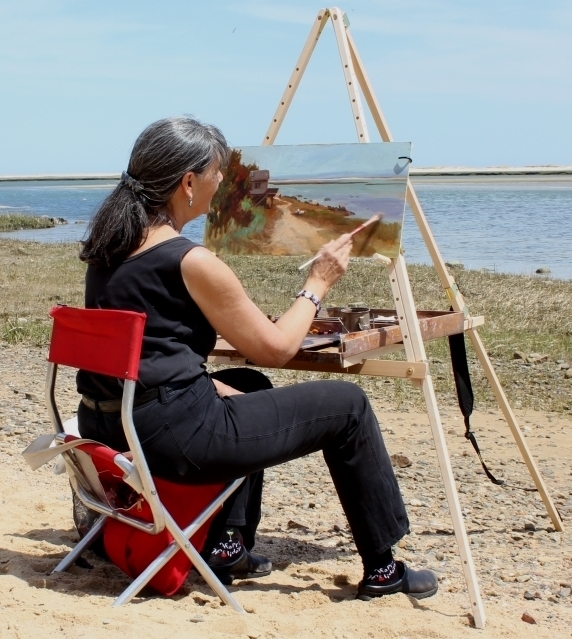
I have been doing plein air painting in Noida (outdoor painting) since May 2017 with my newly built small DIY thumb-box or thumb-held pochade box. Very few artists have attempted to paint anything about Noida so far thus the paintings about this upcoming city are still rare.

One may not find any painterly beauty at a glance in comparison to say Mumbai, Pune, Delhi or Kolkata. There are no beautiful hills, sea, historic places or monuments. A lot of places may look grim and featureless. However,  once this perception is changed, one may start to find subjects to paint. Also, some days are really beautiful especially after a rainy day.

Plein air oil painting is very limited in India even though plein air watercolor is done by a lot of Indian artists and students. So, it is a excellent opportunity to start this movement in India which is a hugely popular global trend.

Below are some of my sketches and I am sure the numbers will continue to grow. More of my sketches of Noida can be found on following social networking sites:
Website: http://kamukh1.wixsite.com/kaustavmukherjee/artwork
Facebook: https://www.facebook.com/kaustavmfineart/
Instagram: https://www.instagram.com/mukherjee.kaustav/


Wednesday, June 21, 2017

A Bigger Poachade Box (Revisiting a Historic Design)

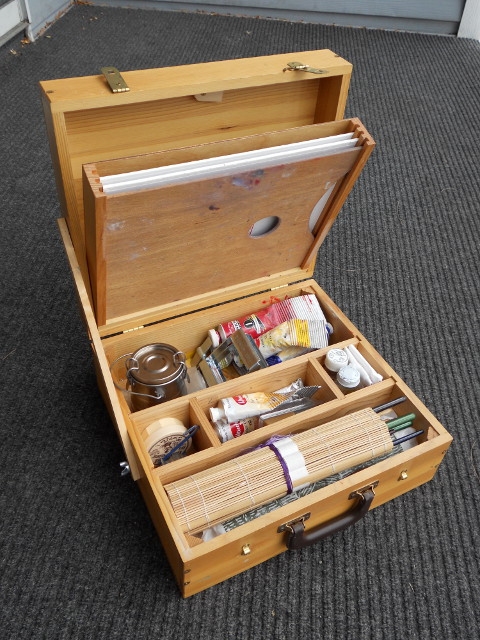
I bought my new bigger pochade box to produce finished paintings. I got the idea from Stefan Baumann's 1920 box. Design of this old box was very thoughtfully executed. Three panels (no standardization for size at that time), palette, paints, oil etc and brushes. The previous artist who owned it put cardboard separations for tubes. This is very similar to what the Hudson River School artists and most of the other olden day painters used. They sat on a tripod stool and painted straightaway. No business with tripod and other stuff (observe Albert Bierstadt surrounded by American Indians). This box will serve its true purpose if it is put inside a Gloucester easel (now Take it easel).


I looked over the internet and found only this box from Indian artists product manufacturer Brustro. It is intended by the manufacturer to be a mere pallet and color carrier box (not sure why) but its perfect size, weight and good looks are well suited to those old designs.

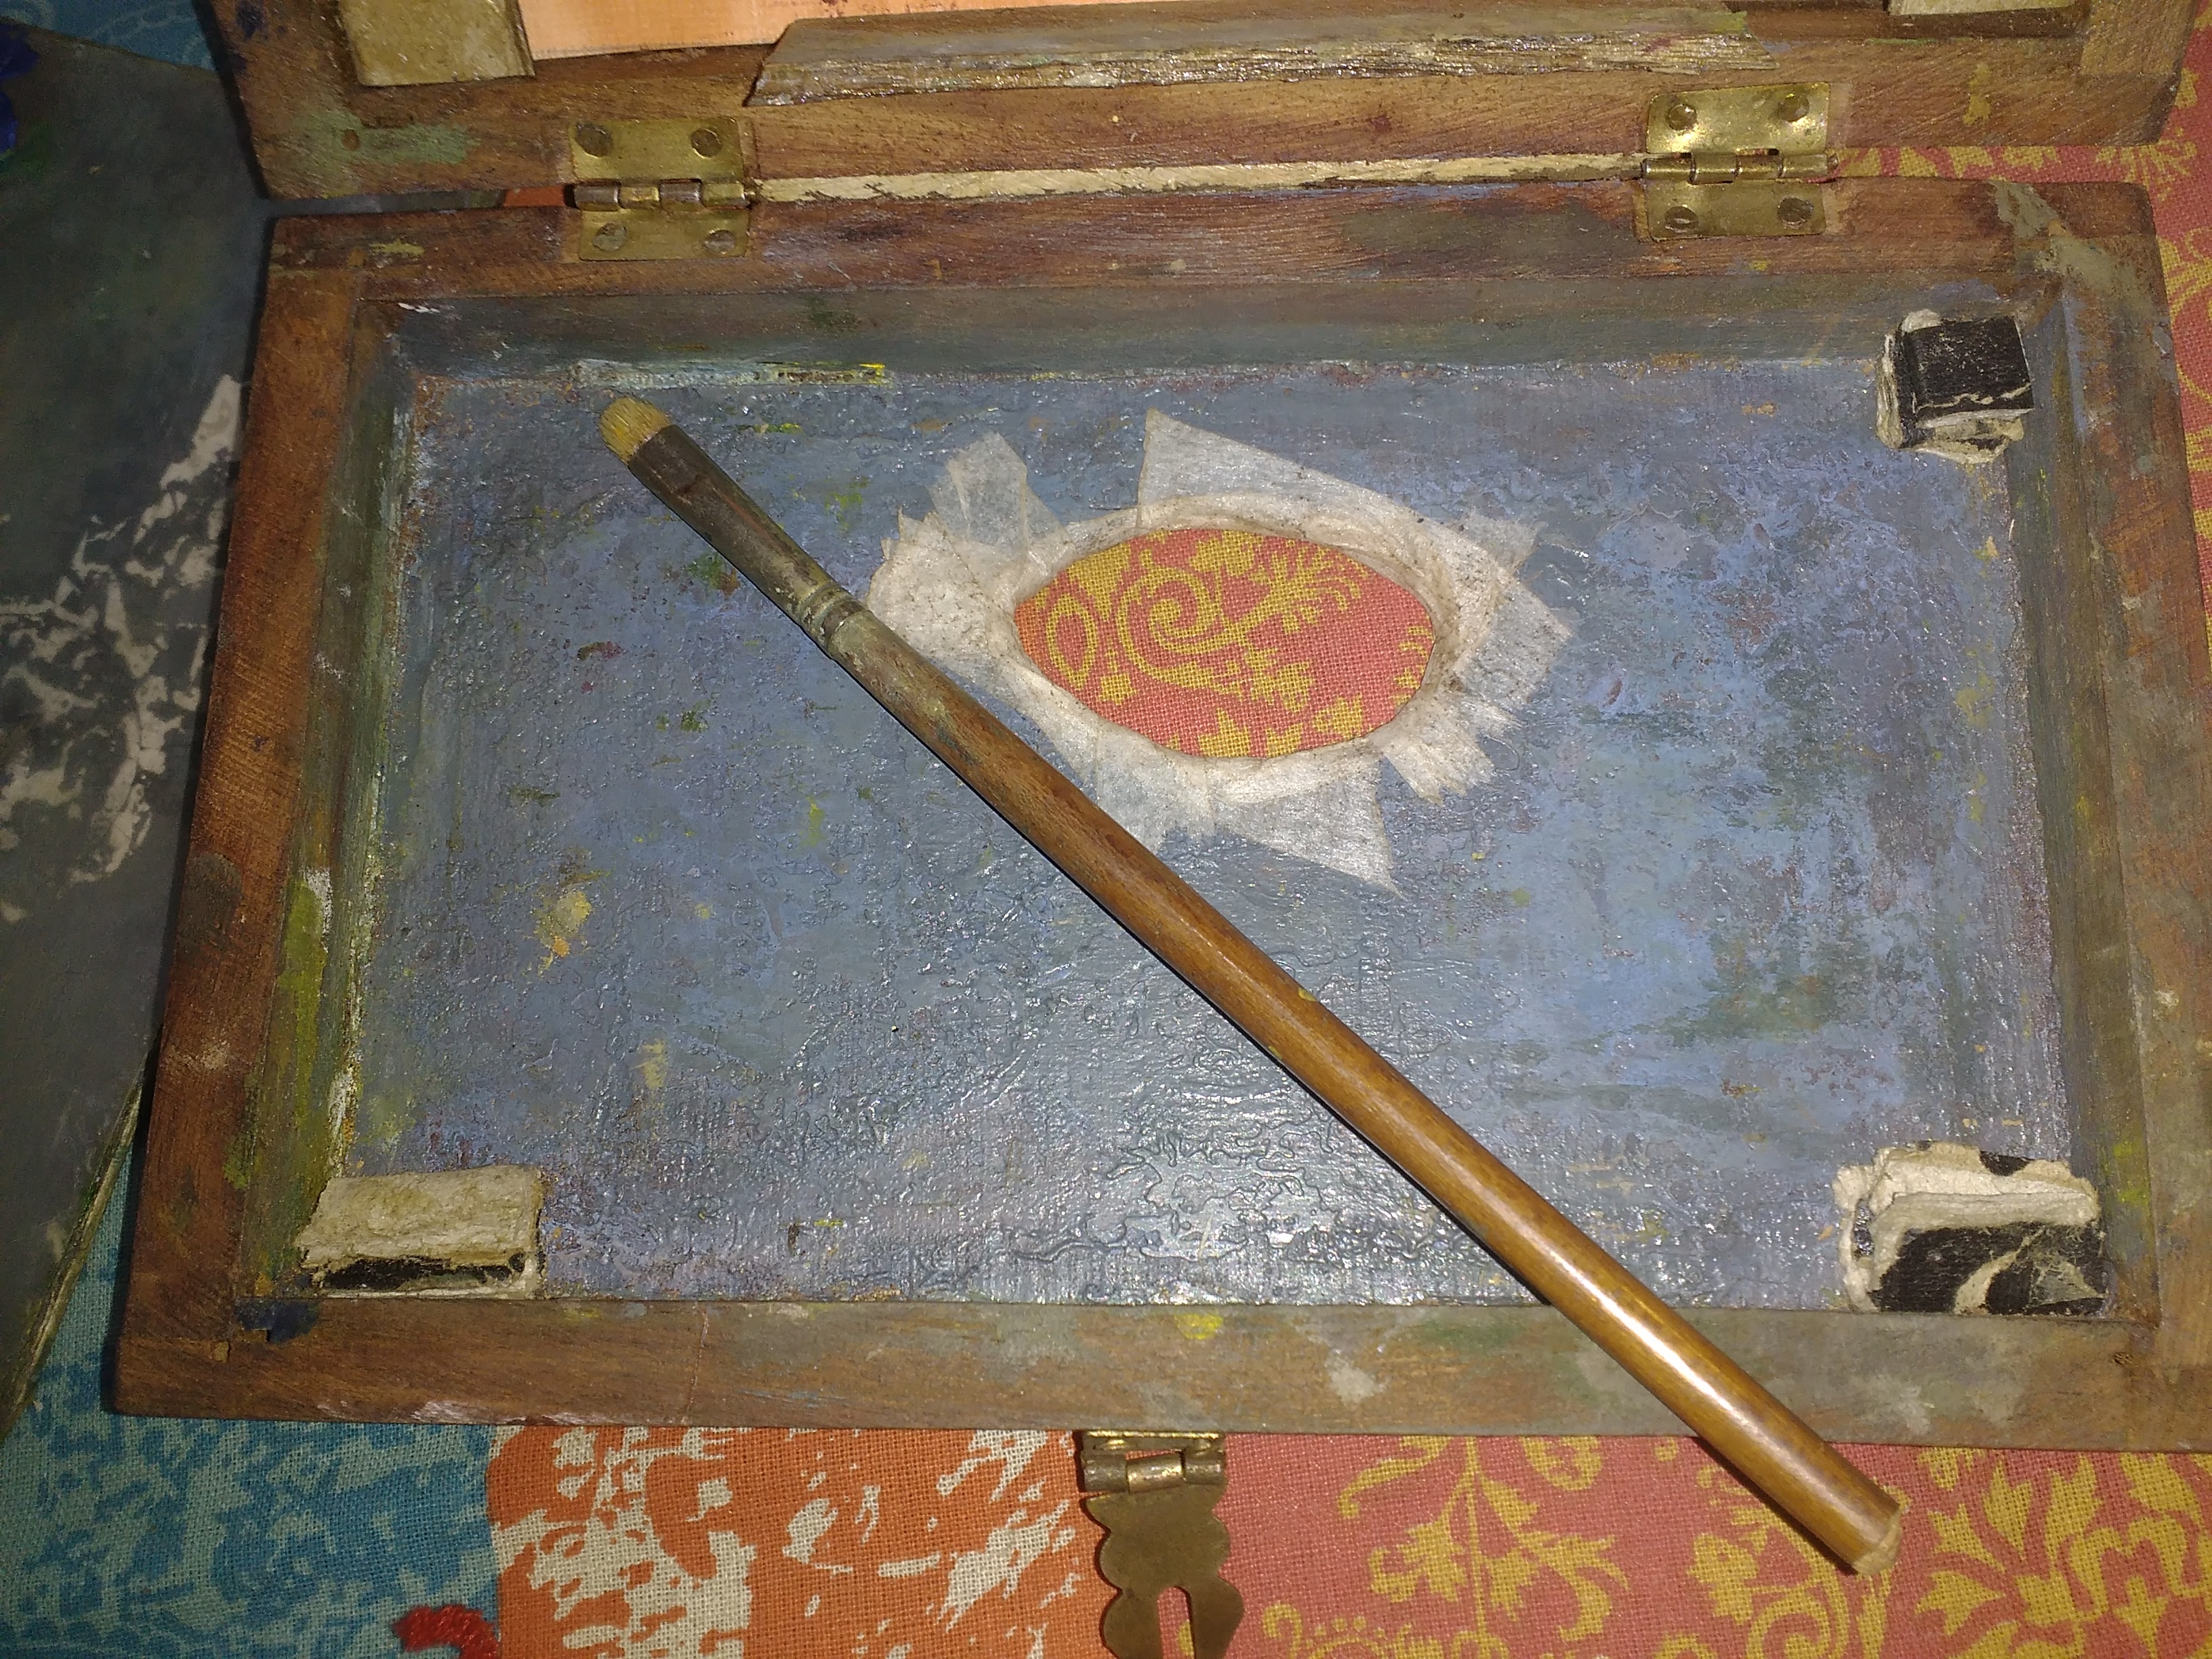
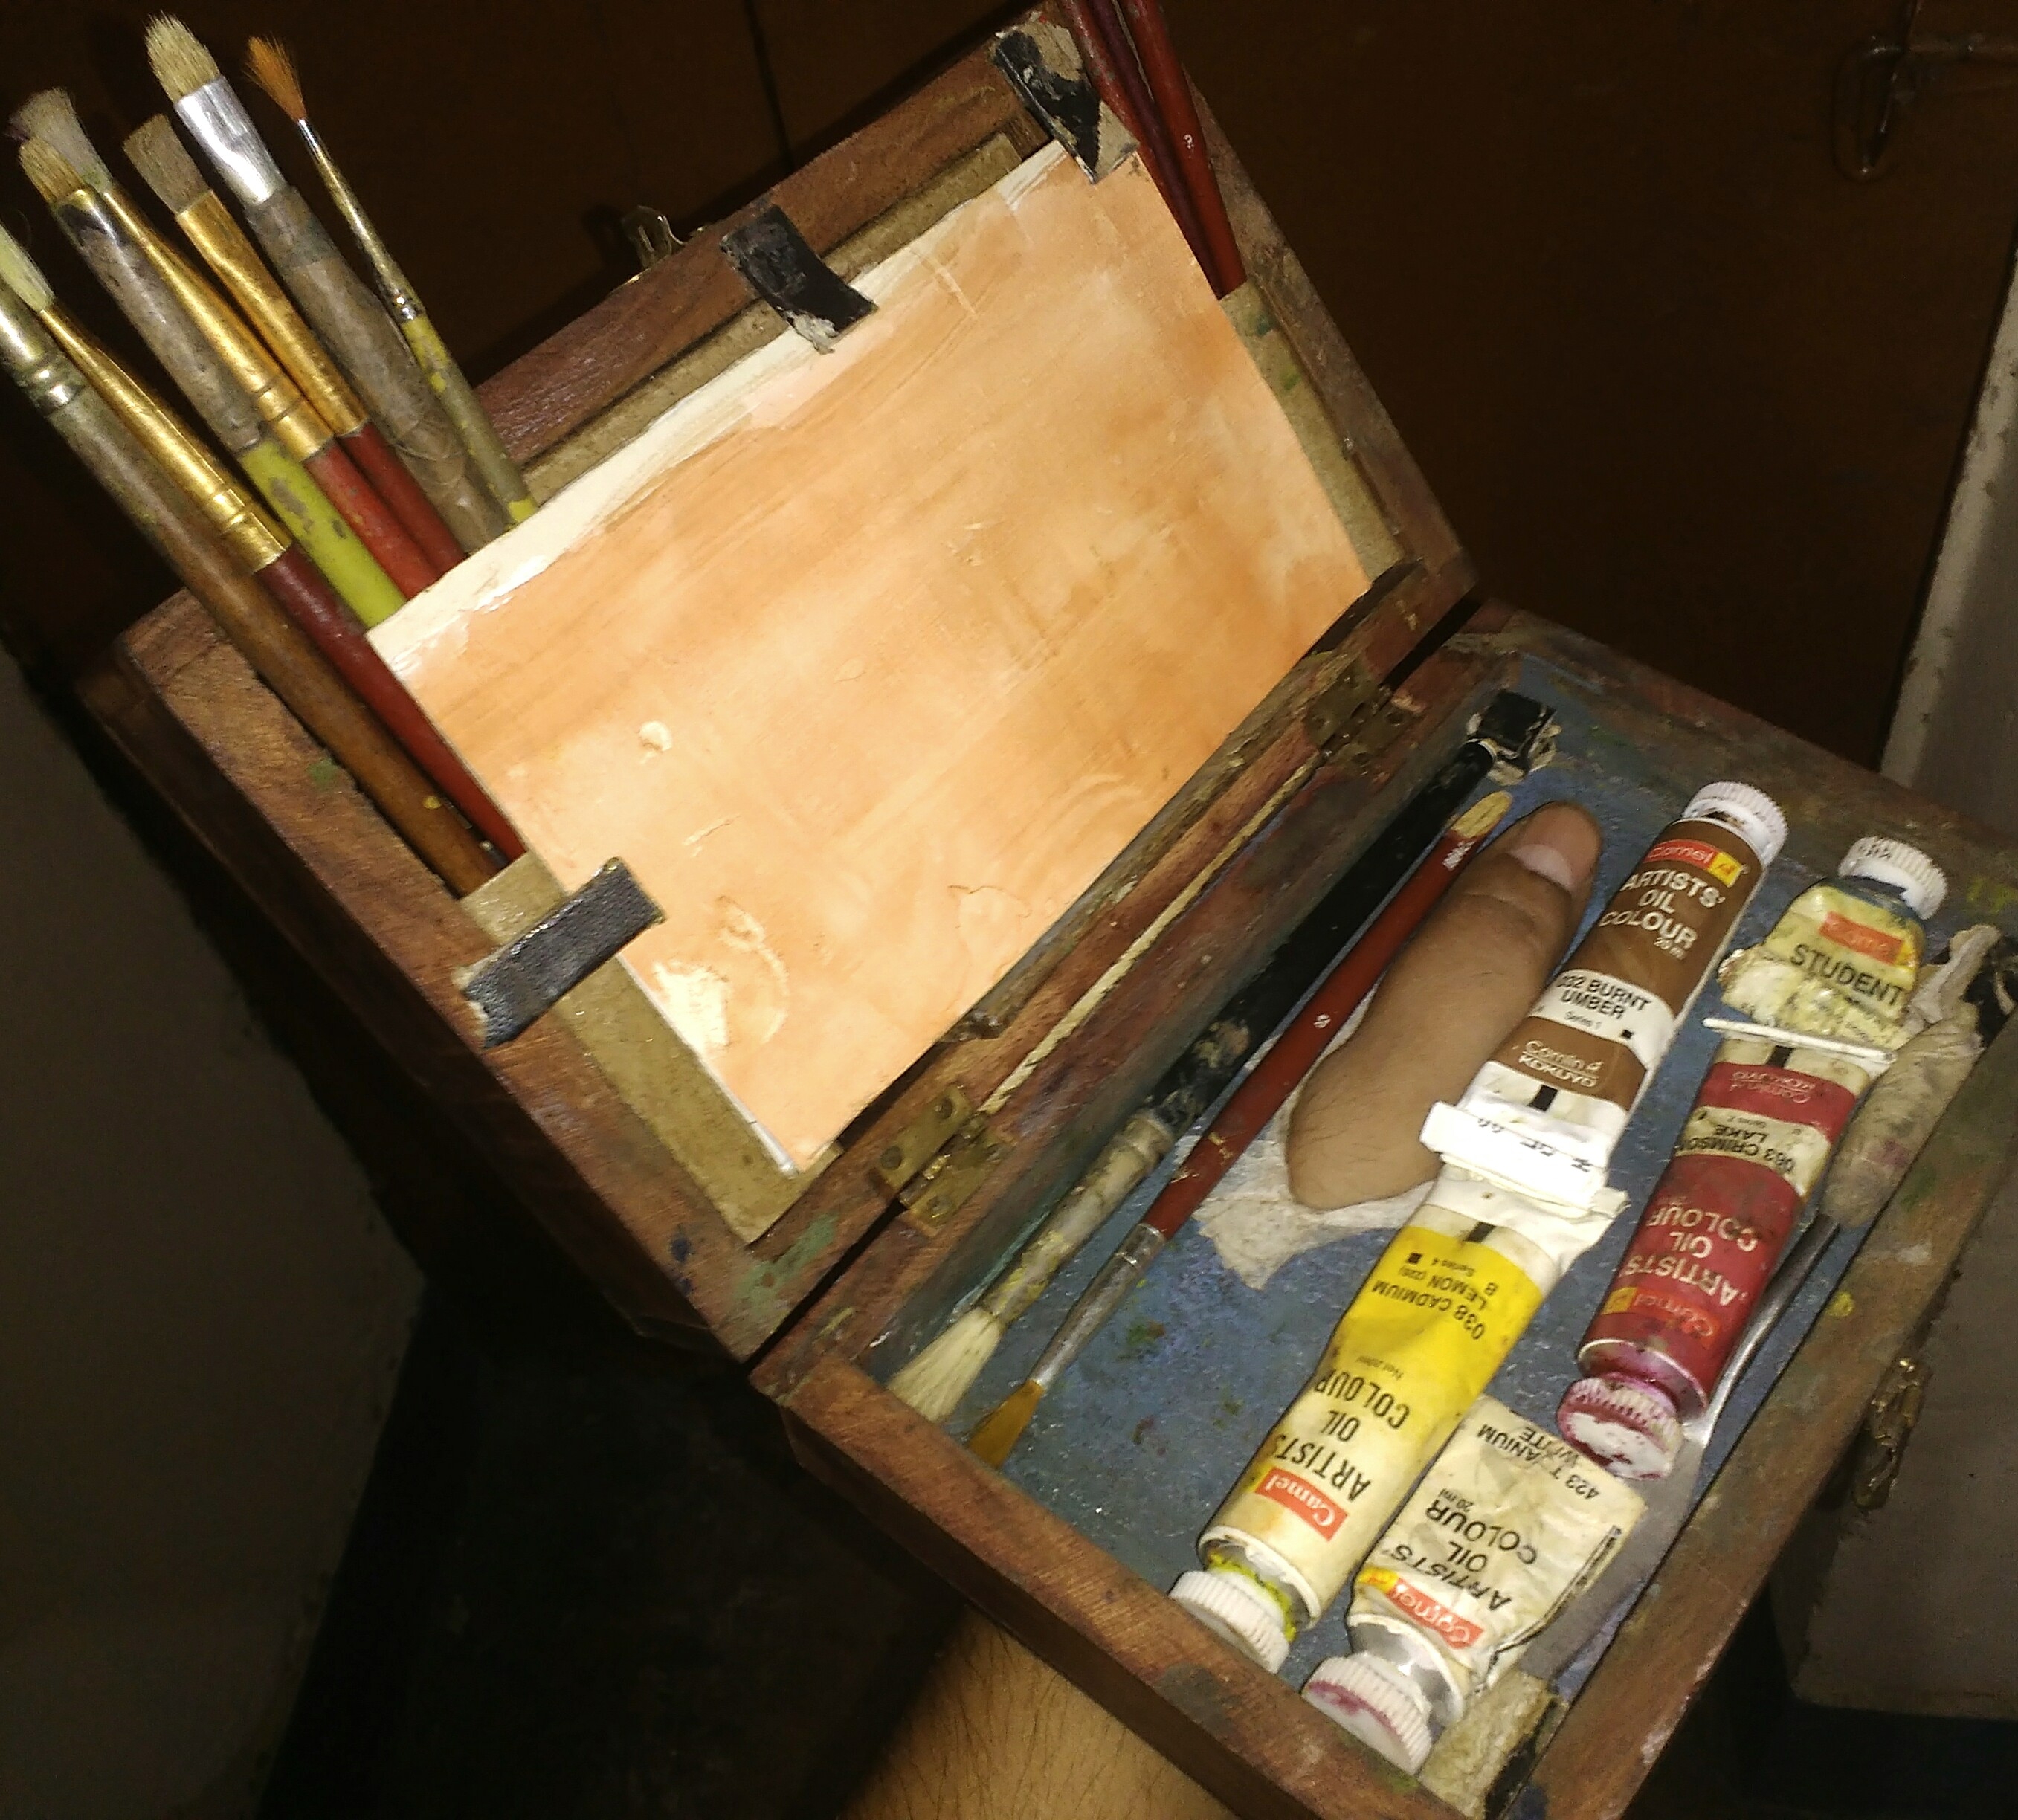
Palette, brushes, tubes etc. I pasted a few wood chips inside as palette rests.

I prefer rags as against paper towels to wipe off paint. Need just five colors of Mark Carder palette and a few extras, a plastic medicinal spray bottle filled with medium and I am in business.

Below is an 8X10 canvas board but you can add masonite/MDF/ply panels as well. The maker could have gone straightaway to a size for an 8X10 or a 9X12 to make life easy. Anyway, I decided to make further changes. 

This is how the box would sit on my lap sitting down. Perfect size. I Needed something stable to keep the box in place.

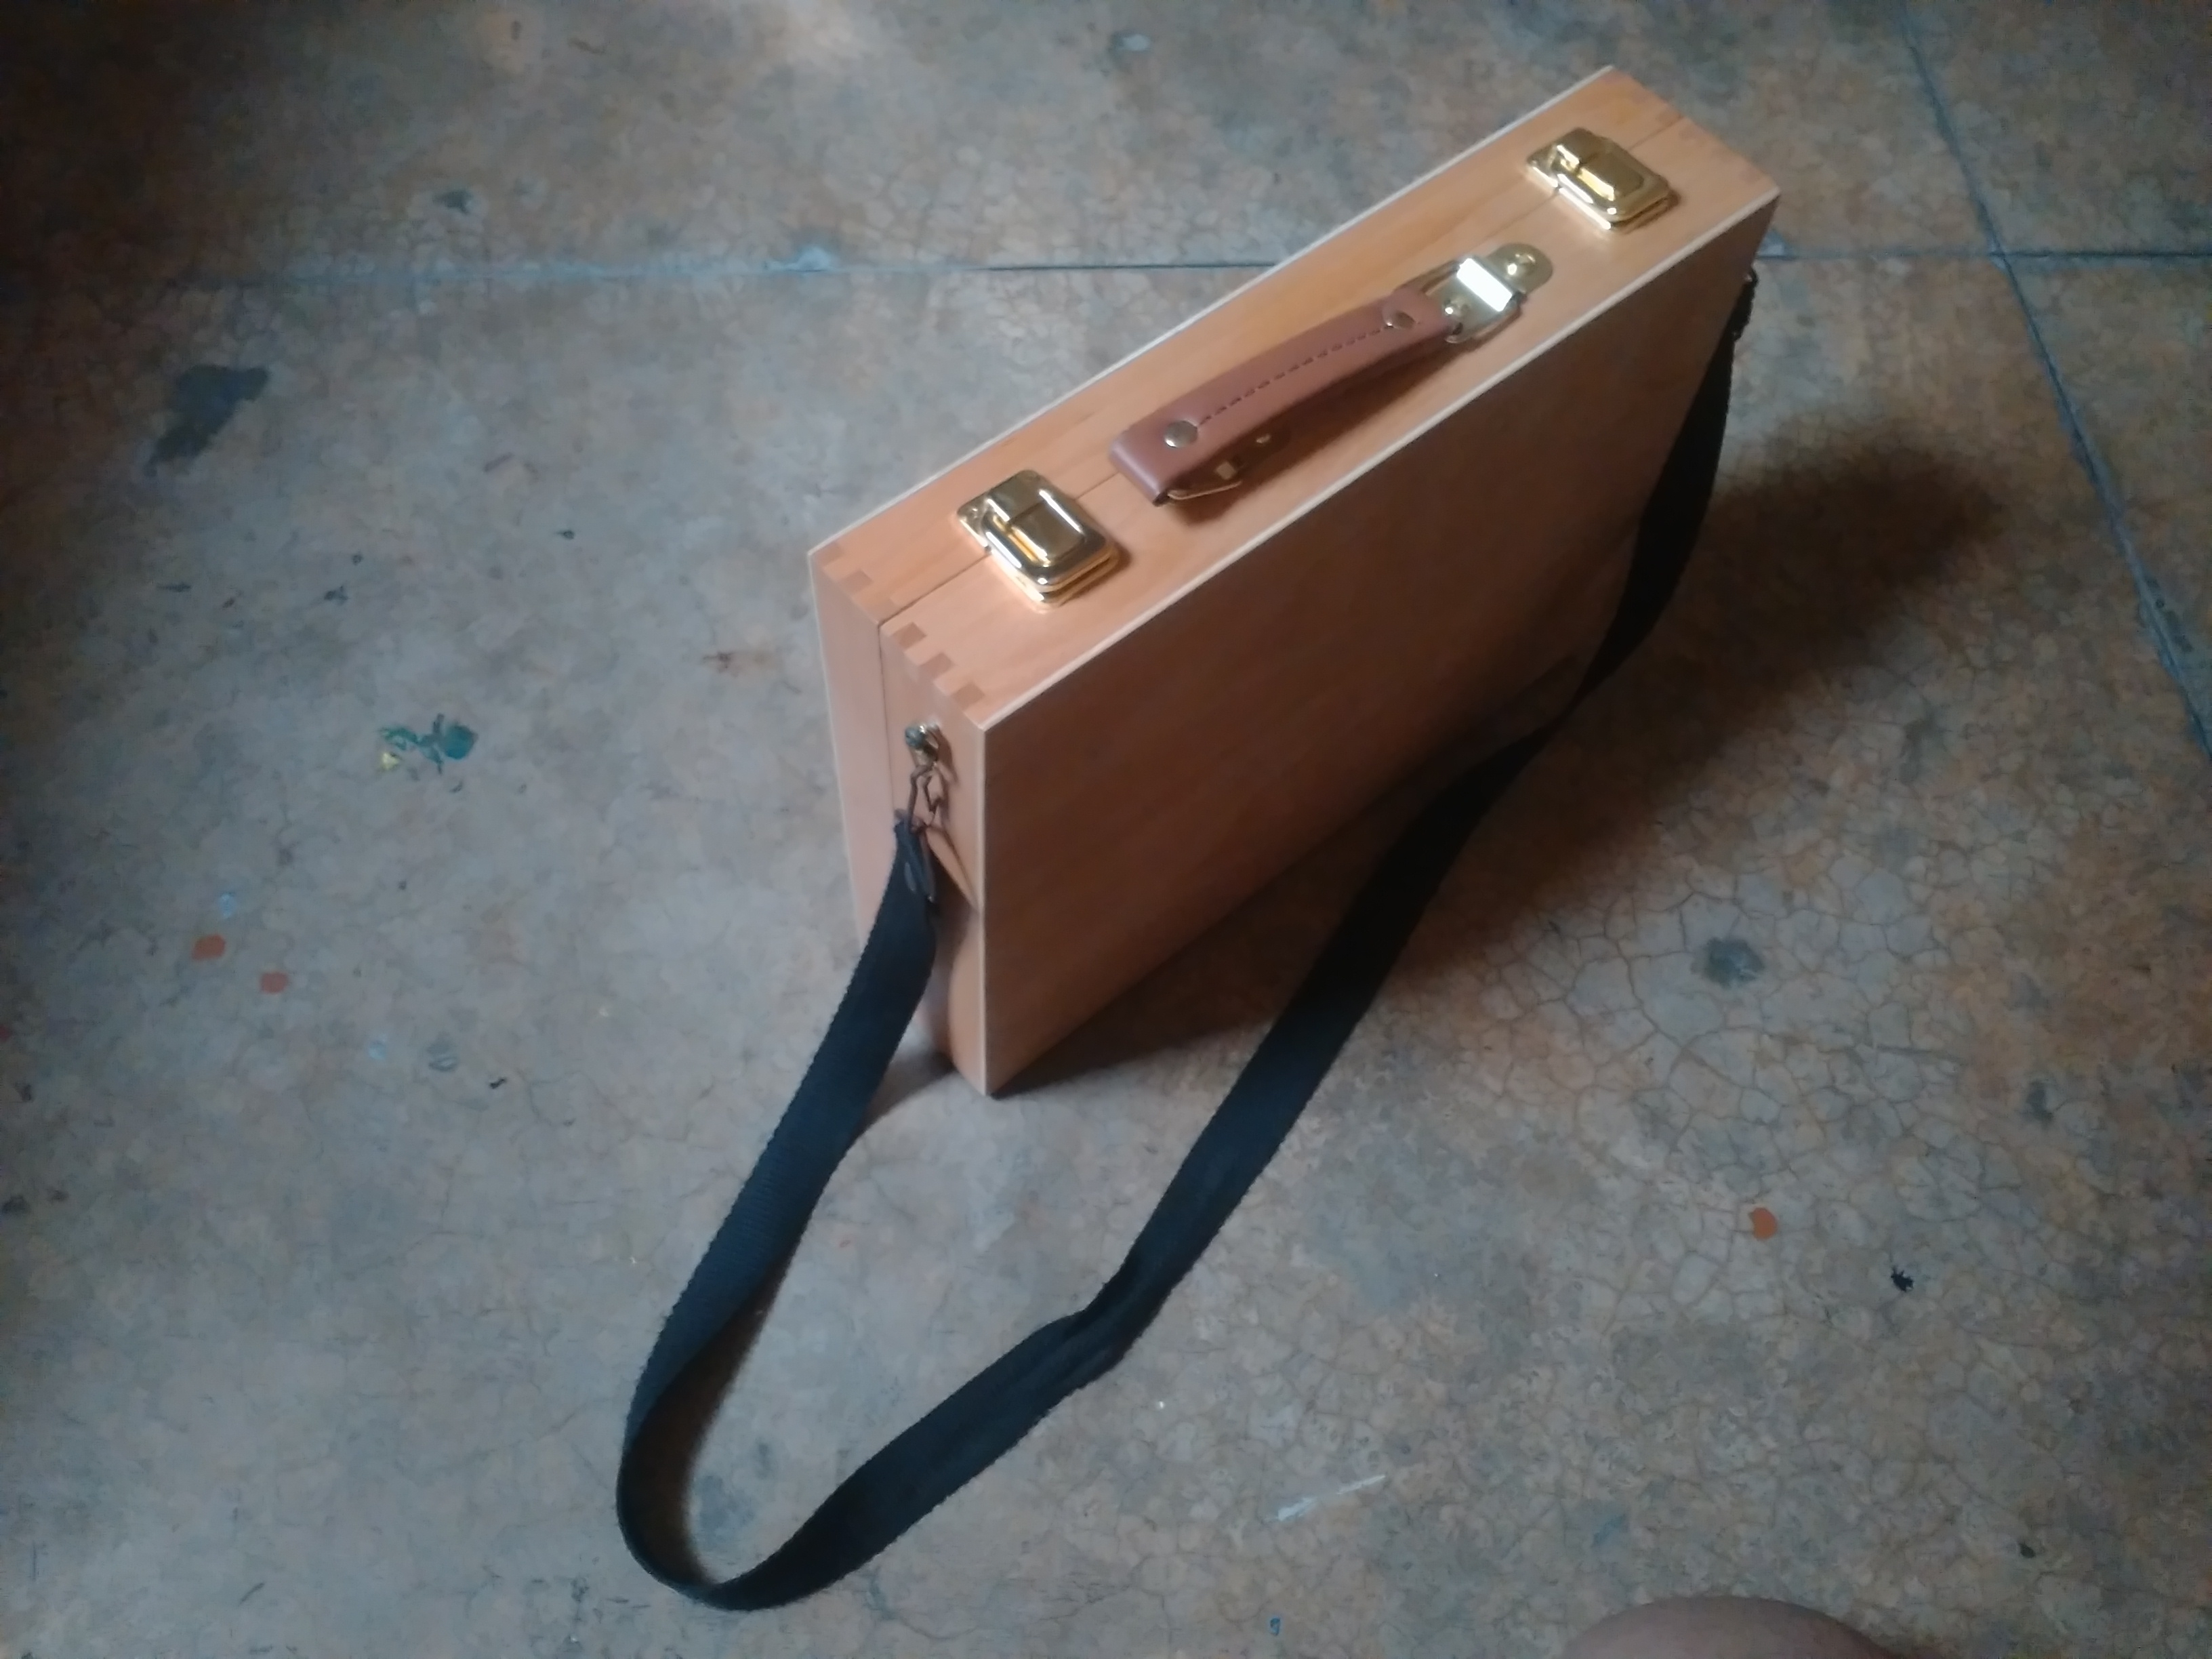
Box shut. As I said earlier - this box is specifically for finished paintings from my tours. I will use my little thumb box locally. I can put this a tripod hole later if I make the base a little harder.


Made my new 8X10 panels by putting three coats of gesso on top of MDF panels. I found an e-commerce plastic bag and turned it into a brush holder using a bulldog clip. Big brushes are placed to the rear inside the bag. Only thing remains is to fix the panel holders in place and create an L for smaller panels. This box can hold three wet panels.


My outdoor painting box is almost done. I bought a powerdrill and attached the left panel holder onto that woodblock that I cut all by myself. This box can now hold three MDF panels. I made an 'L' for vertical format and smaller panels (if any).

I ordered a few D clips from amazon. I put two of those onto the sides of the lower base to attach a strap. I will tie this strap around my waste tightly while painting so that the box doesn't fall off when I am a little less attentive of my posture. The strap of my old violin case came into use here. Now this box is ready for all my plein air adventures.☺


This box fits into my backpack, along with a bottle of water and packed food items. I need an extremely portable stool/chair which might fit into the backpack as well.


Monday, May 22, 2017

A Cheap, Sturdy Thumb-held Pochade Box (Thumb Box)

The inspiration of making a pocket thumb-held painting box was drawn from several old and new designs of the same. I want to paint outdoors (called En plein air painting today), learn from nature itself without the hassles of taking too much space, immobility, lethargy, handling too many materials and drawing too much attention. This little box will give me the opportunity to train myself from nature as well as provide sketches for the future paintings. I can literally paint anywhere now. 😁

I want to thank artists Stefan Baumann wholeheartedly for his positive endorsement of Utrecht thumb box to avoid all the problems mentioned above. He presented his thoughts in these two lectures on his YouTube channel:
https://www.youtube.com/watch?v=QUCxhkKnqZU
https://www.youtube.com/watch?v=8hmw0_hOVIo


There are many other designs present that were produced by makers and artists (DIY) over the years. You can have a glimpse of such boxes below:
Image result for thumb pochade boxRelated imageImage result for utrecht thumb box
Image result for jullian thumb boxhttps://s-media-cache-ak0.pinimg.com/236x/c4/25/bb/c425bb0f62612b5874e8e701a17cff38.jpghttps://i2.wp.com/articulations.ca/wp-content/uploads/2014/08/guerrilla-painter-pocket-box-5x7-gpn-10207-add.png


Here is my mini outdoor sketching box. Total cost Rs.300 ($4.5/-) instead of Utrecht's Rs.6000/-box with US to India shipping. I bought the box, a saw (much later) and wood glue. I prepared this without any carpenter's tools apart from just wood glue, scissors, pockets knife and my arm strength. It looks flimsy but both the box and its cardboard separations inside are very hard and strong.


Back rest for the lid. This was pasted to avoid any drilling for hinges as I don't have any carpenter's tools.


Inside, there is room for two cardboard panels. These also help me to hold the panels and brushes in place when I am painting. The panel-mount below the lid is just wood and panel-rest above is an 'L' shaped hard cardboard supported by pasted wood inside (not seen here). 


     Opened the box. I added a 9ml tube for scale but I can also carry 20 ml tubes, rags and this box in a side bag.
     I will paint on oil paper mounted on cardboard for most of the time as they will mostly be sketches. It is better to paint without mediums on paper as the paint moves freely. But I can carry a small plastic homeopathic drop bottle with tups+linseed oil mixture if I am using small canvas panels. Notice how the palette was placed inside the pochade box when it was closed. I can use very small market available canvas panels; make your own panels by using gessoed ply/Masonite or pasting canvas on ply/Masonite.


I put the palette below to show how it works. It is a grey colored plastic sheet pasted on top of a very hard cardboard. I can rest two panels inside very comfortably.


Brushes were cut to fit the size of the box. I am carrying a lot of old brushes so that I can maintain the purity of tone.These are mostly smaller nylon ones - slightly harder than watercolor ones and a few old bristle brushes. Bigger ones are for quick blocking in and smaller ones are for modelling. There are also two detail brushes. See what I did to the palette knife. I removed the holder and pasted medical gum strips over the steel neck to gain some grip.


A test painting took me 15 minutes. I was planning to make this scene into a big painting for sometime. So this sketch will be very useful.
Brushes are rested tightly behind the panel. They are practically immovable. Palette is immovable due to proper placements of bigger bristle brushes below that are generally not used for such a small scale painting. I pasted two hard black cardboard pieces to hold the panels in place. I can modify this in future though but here I deliberately eliminated the uncomfortable position of holding the box and the brushes by the left hand thumb.


Removed the oil paper from the cardboard panel with a pen knife; glue stick on the side.


The colors that I can carry are my leftover paints: Titanium White, Cadmium Yellow Lemon (Cadmium Yellow Pale/light can also be used), Crimson Lake (Alizarine Crimson in the studio), French Ultramarine/Cobalt Blue and Burnt Umber/Burnt Sienna. This is my usual palette - two sets of warm/cool dark and light colors and one red. I also have a few additional colors for convenience. These are Prussian Blue, Cadmium Red Light, Viridian and Sap Green. These colors appear once in a while in the natural world but just in case...

I painted my first true plein air paintings on Sunday, 21st of May, 2017. A few difficulties arisen during the painting process.

  1. The palette tended to slide off towards the panel box when I held the box vertically, so I pasted small posts in the tree corners of the brush box. Now it is absolutely immovable.
  2. It is better to carry a small plastic cup with leads on for excess paint on the palette. Scrape the leftover paint, make a pile of a singular color and then put this into the cup. This color can also be used in the future as most of the tones in the nature are more towards grey. 
  3. I put a cleaning rag on top of the brushes, so that I could shut the lid without cleanings my palette if there is an urgent need. This will prevent the paints to be smeared on top of my brushes.

This box works like a dream. 😎 Here are two of my very first outdoor sketches. Still a long way to go by the way! Outdoor painting is truly very tough due to changing conditions.


Update on 28th of May 2017:
I made a few small changes into the design. Position of the panel holders were changed so that the panels would not wobble at all. I also added five 20 ml tubes of color in the box itself so that the box becomes compact but smaller 9 ml tubes would be ideal. A few more rags were placed under the palette for wiping the brushes. The bigger brushes shown above were moved to the utility side bag along with additional colors, small medium squeeze bottle.


Update on 29th of May:
The final neccassary changes are now made. Now it is actually a thumb box. I drilled a thumb hole with a new hacksaw, sanded the edges and pasted some tapes to protect the thumb from hard uneven edges of the wood. I can do huge change now. One thing comes to my mind is to convert the top lid into a genuin panel holder.